Pollinator Habitat Design

Building a habitat for pollinators can be as simple as a few containers of flowering plants with quality pollen and nectar or as expansive as acres of wildflowers. Whichever fits your situation, we have created design templates for pollinator gardens to fit any home landscape to help create your own pollinator habitat.

Pre-Planned Garden Designs

Pollinator Garden Design Tips

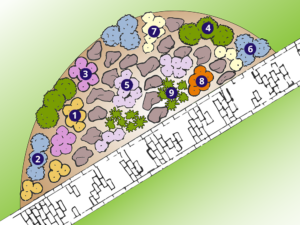
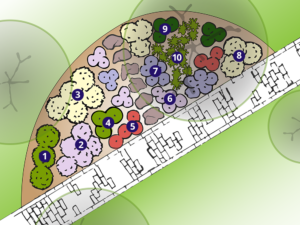
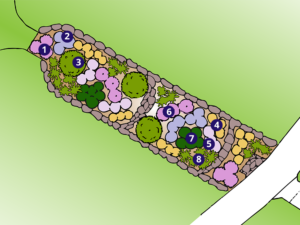
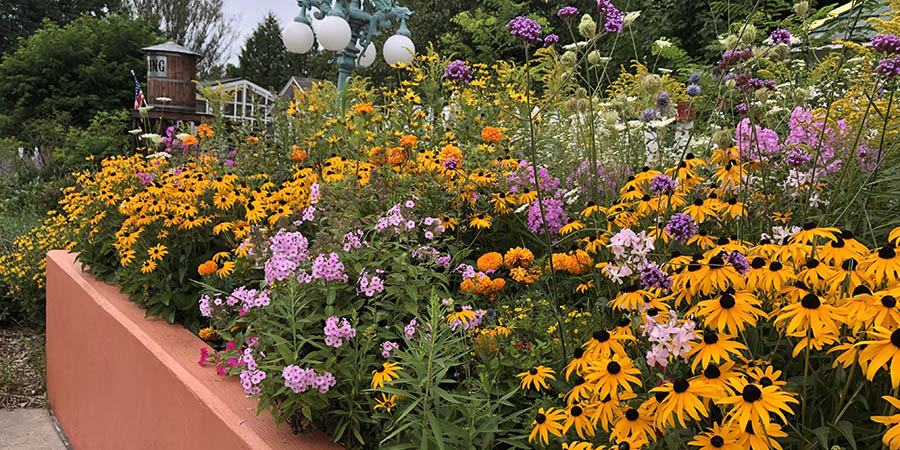
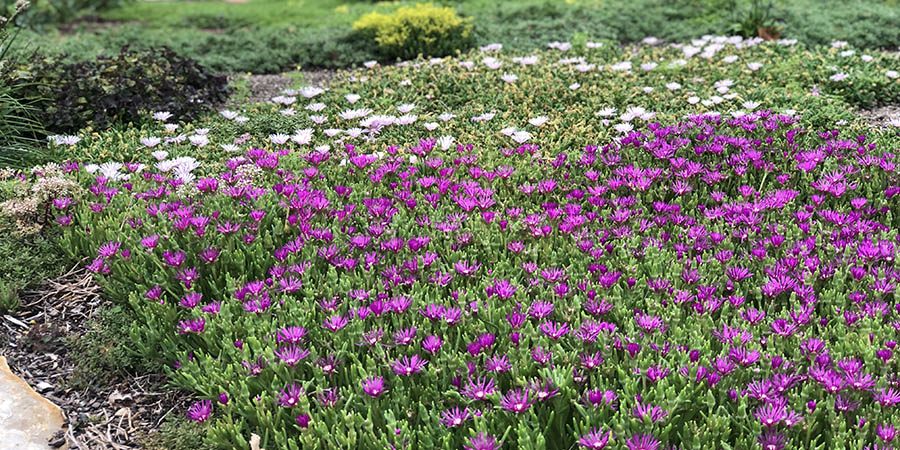
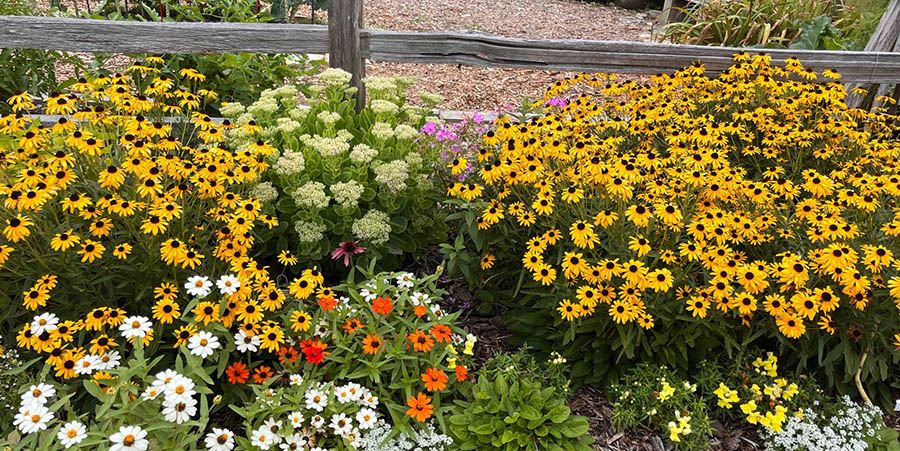
Plant in blocks of color.

Pollinators can be attracted using blocks of identical color. Mass planting or planting in groups of odd numbers (i.e., three, five, seven, etc.) is a good design practice. Planting in blocks of identical species also makes maintenance easier.
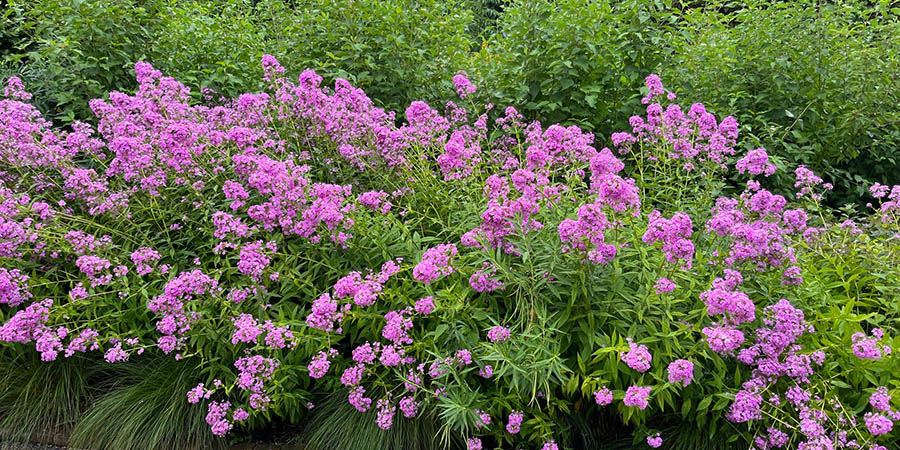
Color block 1

Color block 2

Color block 3

Be diverse.

While mass planting is appealing to the eye and easy for maintenance, a diverse collection of species and flowers shapes will make your garden more accessible to more pollinator species.

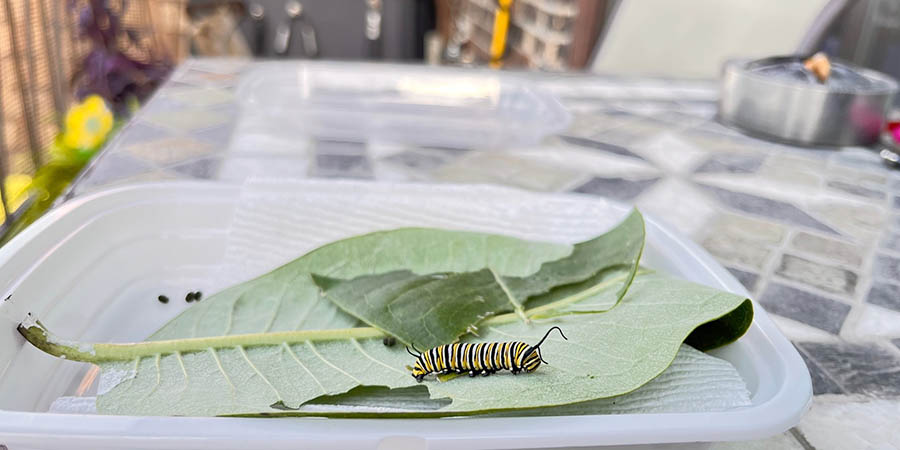
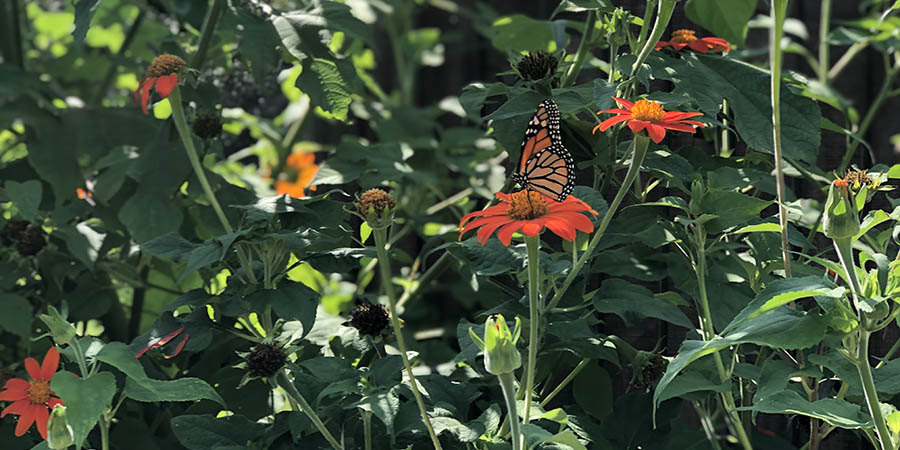
Have enough host plants.

Host plants are used as a food source by insect larva. As an example, if planting for monarch butterflies, it is recommended to have at least ten milkweed plants. This helps to ensure there is enough milkweed for caterpillars to eat.

Host plant with caterpillar

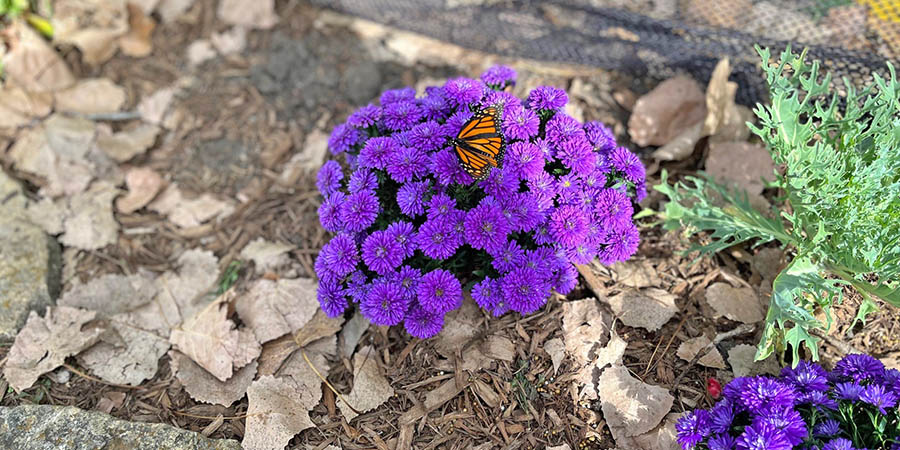
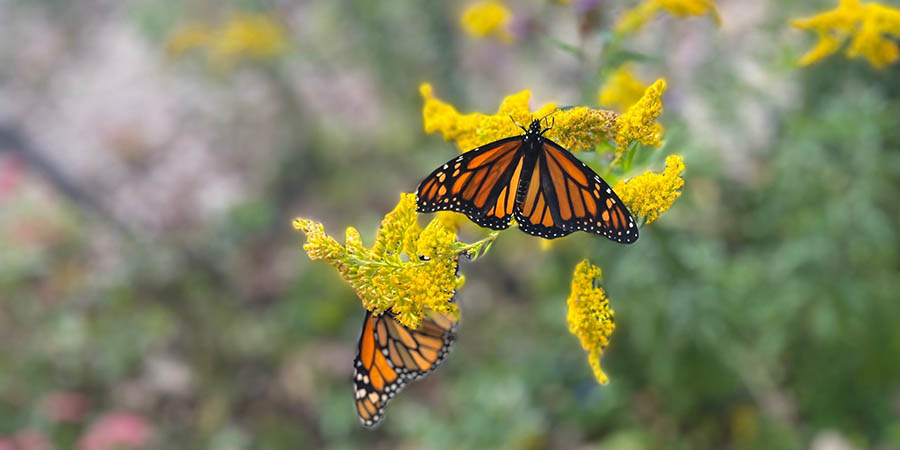
Plan for season-long bloom.

A goal for any garden is to see flowers for as long as possible throughout the growing season. Early season bloomers like willows and fall-blooming goldenrods or asters are critical for those pollinators active during the first and last part of the growing season.

Long late bloom 1

Long late bloom 2

Watch the pesticide use.

Building a pollinator garden, means we will have lots of insects. Some of these insects will even eat our plants, which in most cases is desirable in a pollinator garden. Manage the use of pesticides appropriately, being sure to correctly identify a possible insect or plant that you wish to control before spraying. Many pests like Japanese beetles can be picked-off by hand and dropped in a bucket of soapy water. Contact your local Extension office for information on managing pests.

It does not have to be native plants.

While native plants play a critical role in our pollinator garden that cannot be overstated, many non-native plants can offer pollen and nectar resources to our pollinators. Gardens can incorporate some annual bedding plants, like zinnia or cosmos, for pops of season-long color that also provide some food resources.

Non-native plants 2

Non-native plant 1

Avoid planting invasive plants and manage them when they show up.

Our design templates specify plants well-suited to Illinois. An invasive plant is legally defined as a plant that causes economic, environmental, or human harm. The state of Illinois has a defined list of invasive species. Plus Illinois Extension has a useful resource Management of Invasive Plants and Pests for Illinois for when they show up.
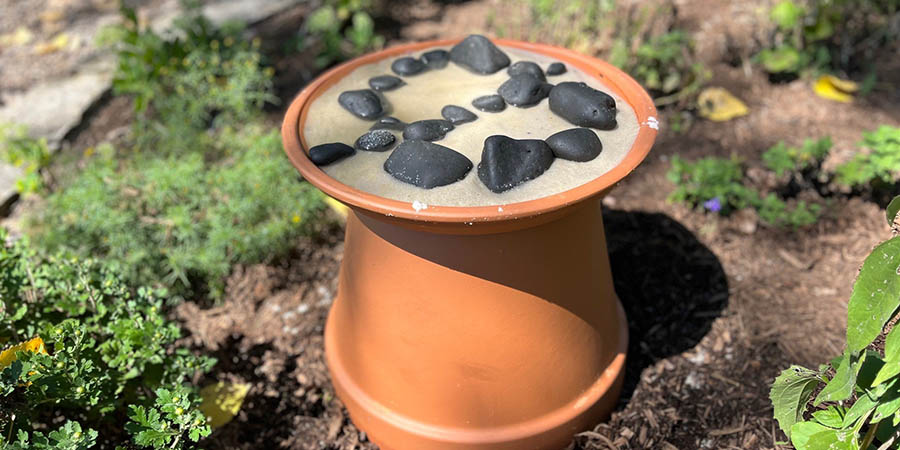
Give them water.

Pollinators will use water if it is provided. Saucers or birdbaths can be placed in the garden. Small rocks or pebbles placed in the water can be used as a perch for the insect to land and take a drink. Be sure to manage these for mosquitoes by dumping and refilling every few days.

Give them water

Mulch and bare ground.

Mulch is a useful tool for most gardeners to help control weeds while your plants establish. However, bare ground on south-facing soil is also useful for ground nesting bees.
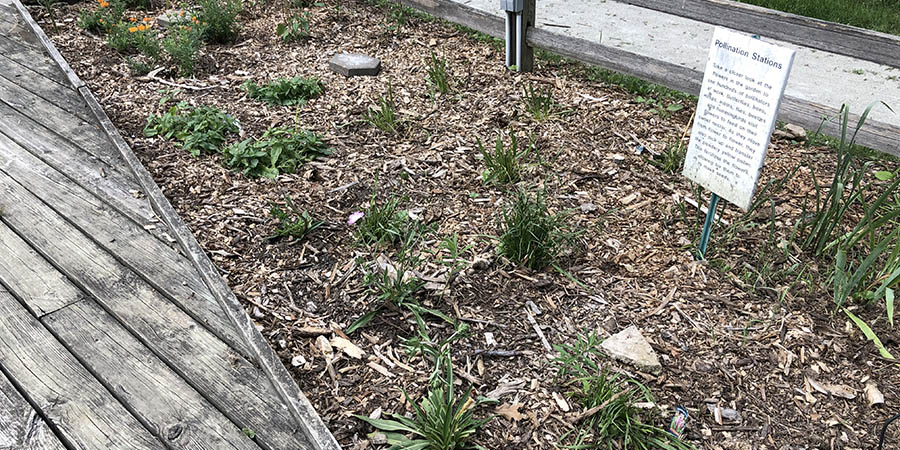
Mulched bed

Make it deliberate.

Many of the plants used in a pollinator garden may be considered agricultural weeds. Plus, many pollinator gardens are a departure from a traditional residential landscape planting. Incorporate human-made components to give your garden an intentional appearance such as landscape edging, flagstone pathways through the garden, seating, and sculptures. For public-facing pollinator gardens, utilize signage to help educate passersby. Also, avoid planting tall plants near sidewalks. Taller plants can flop over and become a hazard to those walking by. Short-growing edging plants can help buffer taller plants. Be sure to follow all local ordinances when planting in a front yard or within a public right-of-way.

Do you have more questions on how to build your pollinator garden? Reach out to your local Extension office.

Building a Pollinator Garden

There are no minimum sizes for a garden to benefit pollinators. Even a few containers of plants can help! University of Kansas experts with the Monarch Watch program recommend a minimum of 100 square feet to create a garden filled with diverse pollen and nectar sources and host plants for insect larva. But how do you get started? Here are a few ways to prepare a site for your new pollinator garden.  

Click here to download a PDF of the information below.

Smothering vegetation

Lots of materials can be used to smother existing vegetation to prepare for a future pollinator garden. Here are some examples:

Rake or mow fall leaves into the area you wish to establish your native plant bed 6–12 inches deep. Allow leaves to remain until spring and then remove/spread out leaves so they are only 2 to 4 inches thick. (this is now your mulch layer) Pollinator plants can be planted directly into the soil.

Trees grow well in Illinois and often there are sources of woodchips in most communities as arborists and other tree care professionals perform routine maintenance or tree removal. Sometimes woodchips are even free! Apply 4 to 6 inches deep. This will smother most weeds but some more tenacious perennials may grow through the mulch, these are easily pulled. When ready to plant, reduce the mulch depth to 2 to 4 inches deep. Arborist woodchips are more coarse and allow better water and air exchange to the soil. Shredded wood mulch typically knits together forming a “shell” over time. Shredded wood mulch will need to be cultivated periodically to prevent any shell from developing.

This material prevents light from reaching the soil surface killing living plants and inhibiting seed germination. Gardeners can scalp the vegetation with a mower and lay down the plastic or till and rake out a prepared soil surface and then cover. Tilling creates opportunities for seed germination. Covering after tilling kills germinating seeds creating a stale seedbed. Remove plastic before planting.

If smothering is the only goal, cardboard is another possible material. Be sure to remove any tape, labels, staples or othering shipping/packing material. Remove cardboard before planting. Cardboard can become hydrophilic making it a poor option as a mulch.

Large rolls of paper designed for garden use can be found at many fruit and vegetable suppliers.

A thick layer of straw can help suppress existing plant growth. Straw can be planted into.

Killing Turfgrass

Many homeowners interested in adding pollinator habitat do so by eliminating areas lawn.  The turfgrass growing in these areas can often be well-established and difficult to remove.  If its not properly controlled, it can become major competition for pollinators plants.

The smothering techniques described above will all work well for eliminating turf, but here are a few other options. 

Physical removal of turfgrass is always an option but may be the most labor-intensive method.

Sod can be removed using a sharp digging shovel and flat bottom shovel. Using shallow, slicing movements with the digging shovel, strip off the upper layers of soil and roots to remove existing turf. The flat bottom shovel can be used to lift up sod or for smoothing out the exposed soil. Be sure to go deep enough to get all roots, yet shallow enough to minimize the removal of top soil. Removing lawns using hand tools can be labor intensive. Also, be mindful of what to do with the rolls of sod. Consider patching bare spots elsewhere in the lawn or place into a compost pile.

Lawns can be removed using a sod cutter, if available. Local landscapers can be hired to perform this task or consider renting a sod cutter from an equipment rental company. This method is a quicker way to get a nice clean surface to start with.

Spraying a herbicide will often give the quickest results with the least amount of effort to eradicate existing plant material, which is typically lawns for most homeowners. There are different types of broad-spectrum herbicides that can be used. When selecting a chemical, ideal products have a low persistence or shorter period of time that the herbicide is considered active in the soil, so users can quickly plant following application.

Glyphosate is an example of a common active ingredient that binds to the organic matter in the soil, is not prone to movement in the environment, and breaks down quickly. Before using a product containing glyphosate, read the entire label and follow the directions specified. Depending on what existing vegetation is present, multiple herbicide
applications may be needed.

For assistance in using herbicides, find your local extension professional at go.illinois.edu/ExtensionOffice

A lawn space can also be tilled to remove the sod for planting. Till to a depth that removes the grass roots. If soil amendments are desired, incorporate to a depth of 6 to 10 inches at this time. Rake out tilled lawn and dispose of grass and roots in the compost pile. This may require multiple passes with the tiller and rake to remove all vegetation.

Tilling concerns:

  • Over-tilled or pulverized soil has smaller soil particles that dry out quicker, and can easily develop a ‘crust’ on the soil surface.
  • Tilling releases carbon dioxide into the atmosphere.
  • Tilling or ‘lifting’ the soil exposes dormant weed seeds that will now germinate.